
Got hail, parking dents, dings, creases, acorn damage? Contact us for free estimate!
DIRECT LINE TO DENT REMOVAL PROFESSIONAL ARTHUR - EMAIL, CALL OR TEXT
1. Preparation
Clean the Car: Wipe down the damaged area and the surrounding panels to ensure dirt or grime doesn’t obscure the damage.
If you have, install one sticky note paper and arrow pointing to the dent near each dent. This makes mutch easier us to see damage.
Good Lighting : Take photos in daylight or in a well-lit area. Avoid direct sunlight or harsh shadows that can make distortion the damage visibility.
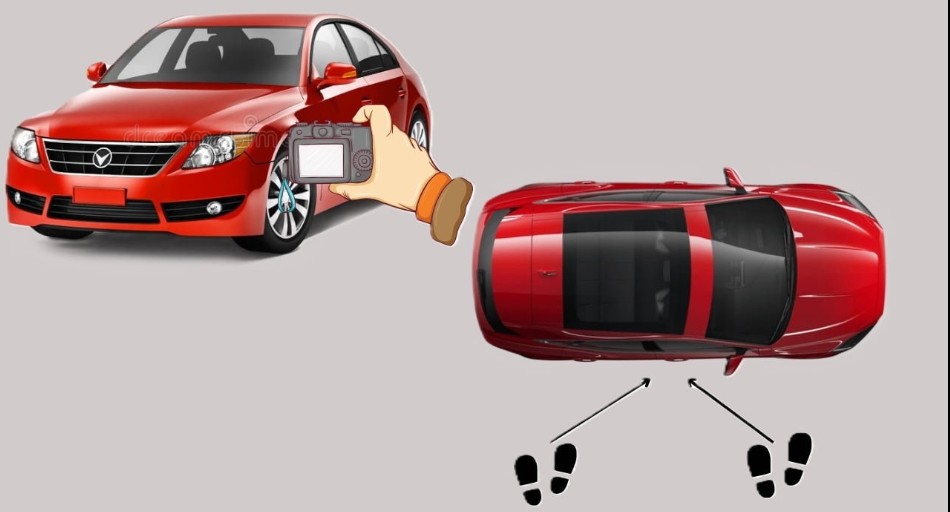
2. Capturing the Whole Profile
Step Back : Take a few steps back and capture the entire side of the car where the damage is located. This provides context and shows how the damage fits into the overall profile of the vehicle.
3. Capturing the Damage Up front of panel
Focus on the Damage : Position your smartphone camera directly in front of the damaged area ~5feet away. Make sure the camera is focused and the dent is clearly visible.
4. Multiple angles of view
Take photos from at least 3 different angles to provide a comprehensive view of the damage. This helps in understanding the depth and detailed view of dent.